Thursday, September 16, 2010

Pesto Chicken over Polenta: Part II

I know I said that I would post this recipe last week, but I'm lazy and you should never trust anything I say.

Anyway, this is the second part of the recipe I started before, the actual chicken part. I'm still deciding if I will include the polenta part too, but I just use Mark Bittman's recipe, and it's really easy. Maybe I'll do something else soon that uses it. I've wanted to try out the recipe for really stiff polenta and make little cakes.

Anyway, on to chicken. I'm excited because today is my oven's debut on this blog! This is everything that you need, including stuff for polenta.
The grape tomatoes are a really great addition in this recipe, so don't forget them. Also, chicken thighs here are a must. Breasts will get too dry, but thighs can take a lot of cooking.

First remember to season the chicken thighs (profusely) with salt and pepper. Add a tablespoon of butter and about a tablespoon of olive oil to a dutch oven. Butter for browning, olive oil for not burning.
When it gets hot, add the thighs, skin side down, in the pan.
Let them cook for about two to three minutes, until you get some nice color on the skin. If you like it really crispy, go for four. Anyway, when you flip them, they should look something like this.
Nice color on the skin, but not burnt. Although, I did burn myself getting this close-up. I really need a new camera.

So, two to three minutes on the other side, then pop them out, put them on a paper towel an drain some of the fat if it looks like there's too much. Also, start preheating your oven to 325.
Whenever I make sauces I like to add onion, and I'm not sure why. If I make a pan sauce and I don't, I always feel like something is missing. Maybe it's because of my ultimate in pan sauces, the sauce for my Pork Chops in Mustard Cream Sauce. I'm just obsessed with it, and I try to make every sauce jutst like it. Anyway, throw in some nicely diced onion, turn off the heat, and let it cook until translucent. The residual heat here should be enough, and I HATE burning onions.

Now the fun part, turn the heat back on medium, take a quarter cup of wine and deglaze the pan.
That just means pour in the wine and stir vigorously, getting all of the chickeniness off the bottom of the pan. It adds tons of flavor and does some of the cleaning for you.
Let the wine reduce by about half, then add in a quarter cup of chicken stock (or water, if you don't have any) and let that reduce by half.

Add in between one and two tablespoons of that great pesto we made before and mix it all in.
It looks really gross, but tastes great. Turn off the heat and taste for seasoning. Add salt and pepper as needed.
Put the chicken back in, skin side up, and toss in some of those grape tomatoes.
The tomatoes are going to start to burst in the oven and add another layer of flavor to the sauce, not to mention the chicken will let off additional juice/fat. It's going to be sooo good.

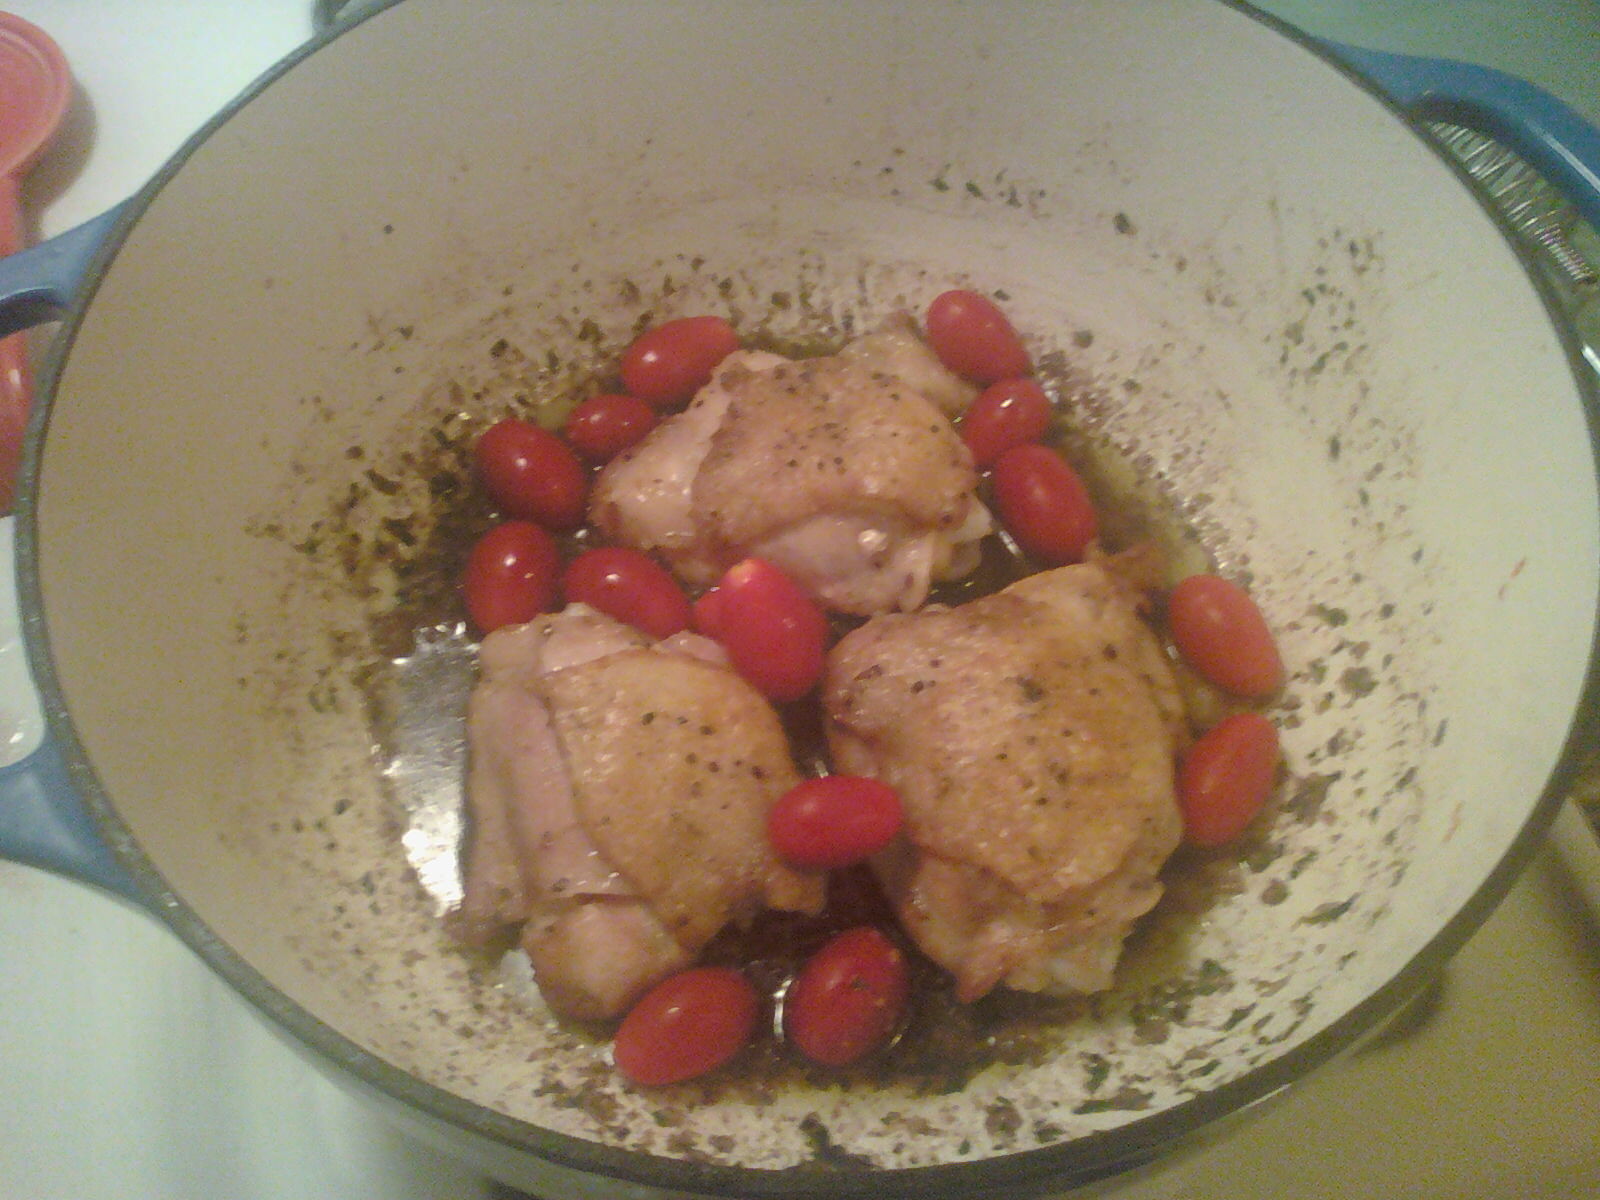
Put the top on and get it in the oven for 35-45 minutes, until you feel comfortable with the chicken. 35 was definitely enough for me.

While it's in the oven, you have enough time to make polenta, if you're in to it. Mashed potatoes would also be good, but do me a favor and make a cute presentation.
I tried my best with this one. At least it tasted great. This one's for the recipe book.

Pesto Chicken
3 Chicken Thighs
1/4 cup red wine
1 tbsp butter
1 tsbp oil
1/4 cup chicken stock/water
2 tbsp pesto
2 tbsp onion, diced
1 handful grape tomatoes
salt and pepper as needed

1. Season chicken thighs, and heat butter and oil in a dutch oven. Sear, skin side first, 2-3 minutes per side.
2. Remove to a paper towel, drain some fat if necessary, turn off the heat, and saute onions in residual heat. Preheat oven to 325.
3. Turn heat back to medium, add red wine to deglaze pan and let reduce by half. Then add stock and let reduce again.
4. Mix in pesto, then turn off heat.
5. Add chicken back into dutch oven, skin side up, and toss in grape tomatoes. Place in oven, covered, for 35 minutes.
6. Serve over polenta or mashed potatoes, and most importantly, some red wine.

Wednesday, September 8, 2010

Pesto Chicken over Polenta: Part I

Today and tomorrow, since I'm off from school, I figured that I would write up two posts that document the making of a "fancy" meal. It might even be three parts, but I think two will do. Anyway, today I'm posting the steps in the recipe that you can and should do ahead, while tomorrow will be the meal coming together.

Since the recipe is called "Pesto Chicken", you can guess that we'll make the pesto ahead.
This is really all you need. A bunch of basil, a half cup of walnuts (or pignolis if you want to be fancy), three cloves of garlic, olive oil and Parmesan. You also need a food processor, you can see mine hiding back there.

First thing you should always do when you are using nuts is toast them. It reinvigorates the oils and makes them really fragrant. To do this, just take a dry pan, put it over medium heat, add the nuts in one layer and let it go.
The whole process takes just a few minutes, and you'll know to turn off the heat when the room starts to smell like walnuts. In the end (after like 4 minutes) it should look like this.
Notice that I bought the shelled walnuts, and not the chopped ones. This is mostly because the shelled nuts are easier to toast, and also because we don't need chopped nuts, we have a food processor. Anyway, you see how the nuts have gotten a little browner? They look just a little burnt, but they're not. Once they go in to get chopped, it's going to let off a great aroma.

Anyway, while this is all going on, you just want to take your basil leaves off the stem, making sure you have very little stem left on, and wash it.
It looks so nice and fresh. The basil is actually a little old, if you look closely you may notice some spots. Pesto is notorious as a great way to use and preserve aging basil. I bought this at the store, but I hope that my own basil plant will give off nice leaves soon.

Now the garlic. Just cut off the little nub at the end and smash it with the flat of a knife. Just place the flat over the clove, and punch the knife down using the side of your other fist. I don't think you can be too rough, but don't do it super hard. No one likes broken knives.
Once it's smashed, you can just take the peel away and throw it out.

Next get your food processor all set up and put in the nuts and garlic.
Pulse it on high about 5 or 6 times to get everything nicely chopped up. This is the part where your kitchen will smell divine.
Then add your basil (I had to do this in two batches), and pulse a few more times to get everything chopped up. Then let the processor run on a medium speed (mine had a "dressing" speed) and start drizzling in oil.
Make sure the top is closed and don't drizzle to fast, or you may get some oil splashes. After a few seconds, just turn off the processor and scrape down the sides and let it go for a little longer. You will know the pesto is done when it makes a light green paste. Be careful not to add too much oil! If you do the result will just be oily and dark, it won't taste or look good. Be conservative and check the consistency often.

And that's it! Put in a bowl, add some Parmesan. NOW it's really important to taste for seasonings. Add salt and pepper until it tastes like it should: sweet and a little salty. I needed about a teaspoon and a half of salt and a teaspoon of pepper.  Put some plastic wrap over it and you're all done!
All in all, it takes about 20 minutes to do two batches. This presentation also sucks, but look here tomorrow to see my nice dinner, where I'll actually pay attention to the presentation.


Quick and Easy Pesto
1 Bunch Basil, washed
1/2 cup walnuts
3 cloves garlic, crushed
1/4 cup olive oil (approximately)
1/4 cup Parmesean
Salt and Pepper to taste

1. Toast walnuts in a dry pan for about three to four minutes, or until fragrant.
2. Pulse garlic and walnuts in food processor about 6 times until well chopped.
3. Add basil and pulse a few times. Then turn food processor on medium speed and drizzle in olive oil, remembering to turn off and scrape down the food processor every so often. When finished, the contents should look like a light green paste.
4. Remove to a bowl and fold in Parmesean, salt and pepper.

Friday, September 3, 2010

Cucumber Salad

Hey guys,

I know that I've been a bad food blogger and haven't posted in a while, but as you know, I was in Montreal. After I got back, school started and I didn't have the time or energy to write a full post. I know, I was lazy.

Anyway, a few weeks back my girlfriend and I went to the Brooklyn Grange farmer's market, which is near our apartment. They own a rooftop farm in Long Island City and sell their produce in the building they're on top of twice a week. They were really nice and suggested that we try one of their cucumbers, but it didn't look like a cuke. It was all white, which was weird. Was it an albino cucumber?

Apparently not, they told me that it is called a lemon cucumber and has a citrus flavor. Well, they lied. It doesn't really, but the peel is really bitter. Anyway, it sparked an idea: I wanted to make cucumber salad similar to the way my mom makes it.

Start by taking your (possibly peeled) cucumber and slice it. Then put it in a fine mesh strainer over a bowl and sprinkle some salt over them. Toss it around to get the salt everywhere. about a teaspoon and a half per cucumber should be good.

The idea here is that we're drawing the liquid out of the slices so that we can replace it with more flavorful liquid.  I let the cukes sit for about 45 minutes, I think two innings of a baseball game.

In the mean time, you want to slice a little bit of onion thinly.
You don't need that much, probably a quarter of a large onion. Red onion would be really beautiful here, but I didn't have any. After we put all the acid in the cucumber/onion combination the onions will start to pickle.

So, put everything in a small bowl and sprinkle about a tablespoon of sugar on the whole thing. You can certainly add less, but I don't think that I would add more. Then squeeze a lemon on to the whole thing, toss, cover, and let sit in the fridge for an hour.
The whole thing is really easy to make, and you can certainly adjust the measurements to your taste. I think I ended up adding just a little bit more salt and sugar. After all that waiting though, the pickled onion and cucumber taste delicious together.

Hope you enjoy.

Oh yeah, before you close the window, I'm also excited about some new things in my kitchen. The first is what my friend Michele described as an "Ina Garten" style sugar container. I mean, Ina would certainly like it, and it was on sale a Target. You can't go wrong.

We also got a larger one for flour, and they look really nice on the counter.
The second thing is my fledgling herb garden. I just had some tiny sprouts of basil and chive when I left for Montreal, but they really took off after I left. Apparently my girlfriend has a green thumb (it's a surprise to her too). Now, I'm getting ready to transplant some of the basil and the parsley actually took!