Tuesday, January 4, 2011

Alton Brown's Oaty Oatmeal Cookies

Hi all,

I know that it's been a while: Christmas was crazy! I've been wanting to share this recipe with you for a while.

See, I saw an episode of Good Eats where Alton Brown makes oatmeal cookies with absolutely NO wheat flour. The process looked easy enough (well, as easy as an AB recipe gets), and the results pretty delicious, so I gave it a shot.

These cookies are VERY different from your standard oatmeals. The flavor is much nuttier and the cookies a lot looser. This is mostly because oats do not produce gluten, or perhaps very little gluten. That makes these cookies great if you have Coeliac disease, also known as gluten intolerance. Even if you don't, these cookies provide a welcome change (after tweaking the recipe a little bit).
We need to start out by measuring 16 ounces of Old Fashioned oats on a scale. Notice that mine comes from the 60's, like most of my advanced kitchen gadgetry (i.e. the stand mixer... pictures to come).

Put all those oats on a baking sheet (or two) and toast them in the oven for about 10 - 15 minutes, stirring once or twice.
In the mean time, we need to get everything else out.
Butter, cinnamon, brown sugar, chocolate chips, baking powder, vanila, salt, an egg, and raisins and whiskey.

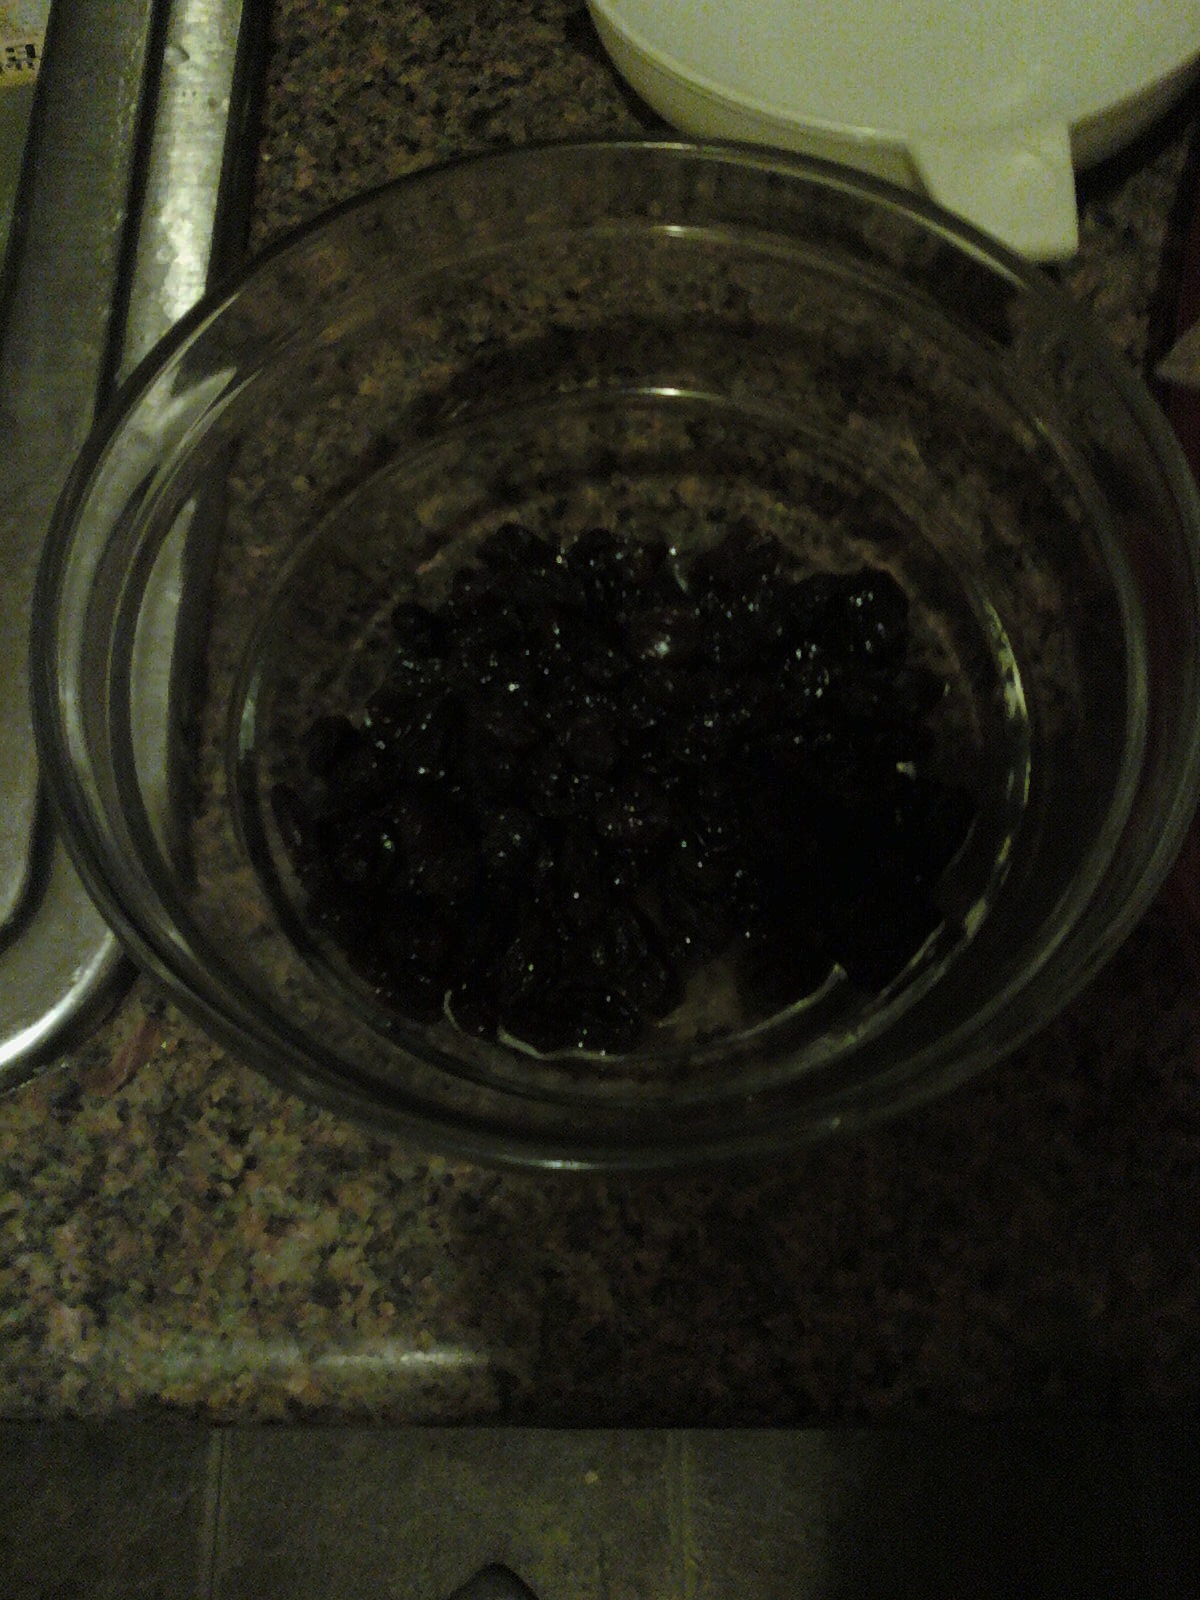
First, the raisins. In a small bowl, measure out 2 oz of raisins, and then soak them in about two or three tablespoons of whiskey until you're ready for them.
Yum. Whiskey. I saw this on the episode of Good Eats, but it wasn't included in the recipe on the Food Network website. AB also used rum, but I had whiskey around.

By now, the oats are done, so take them out of the oven and let them cool for a little bit.

Using your scale, divide the oats in half. Half will become our flour, and half will be the whole oats in the cookies.

So, take one half and put it in the food processor (I needed to do three batches to do the full 8 oz, so use your judgement here).
Set it up to one of the higher settings (I used 8 or 9), and let it go for three minutes or so, until the oats become the consistency of flour.

See, almost indistinguishable from your friendly wheat flour. I think I let some batches go for even longer, for a finer texture.

Anyway, in a big mixing bowl, we combine our dry ingredients: oat flour, cinnamon, baking soda. I used more cinnamon than in the original recipe (around 4 tsps) because I really like that flavor, but if you don't, add less. It's also 1 1/2 tsp baking powder, I believe, although the recipe only calls for 1.

So, mix that up, and break out your stand mixer for the wet ingredients: butter, sugar, egg, vanilla.
Here, I'm creaming the butter and white sugar. This stand mixer is crazy, as you can tell by the motion blur. If you don't hold it, it spins around like wild and sends butter all over the kitchen. It's actually pretty awesome.

Once that's creamed, add the brown sugar.
It's tough to see, but the blur has changed color and the consistency is much smoother. Then add in your egg and vanilla.
Okay, all done with that mess. Now, on the lowest setting, add in your dry ingredients slowly. I typically do three batches.

Since this stand mixer is nuts, I shut it down, pour in the flour, then turn it on.

When the dry ingredients are all added, don't be surprised that the mixture is still very wet. Like this.
Remember, OATS DO NOT MAKE GLUTEN, and they absorb moisture differently from wheat flour, so expect it to look different here.
Then add in your whiskey soaked raisins, with whiskey, and 2 oz chocolate chips.
Don't forget the other 8 oz of oats too! Mix those by hand, a stand mixer will just start to break it all up.

Then AB and I differ about what's better. He says to make 1 1/2 oz balls, with a result like this:
Giant cookies, delicious, but dry. If you want these monsters, bake for a very short time to keep the moisture inside. If you're worried about cooking the egg, then use my method: much small, about 3/4 oz cookies.

These were moist, had a decent crumb, and I could taste everything in them. I definitely prefer these.

They were a big hit at the Math potluck, so I hope you enjoy them too!

Here's the original link to Alton Brown's recipe: http://www.foodnetwork.com/recipes/alton-brown/the-oatiest-oatmeal-cookies-ever-recipe/index.html

Don't forget my changes though:
1 tbsp cinnamon instead of 1
1 1/2 tsp baking powder
2 oz raisins soaked in 2-3 tbsp whiskey
2 oz chocolate chips

In the procedure, don't forget to make smaller cookies and bake them for 8-10 minutes instead of 12-14, it will really help keep your cookies moist.

P.S. I got a camera for Christmas! Expect better pictures soon!

Thursday, December 9, 2010

Roasted Brussel Sprouts

Brussel sprouts are a pretty new addition to my diet. I never ate them as a kid, and didn't really understand what they were or what they tasted like. When I ate them the first time, it was a revelation: a vegetable that highlights all of the flavors that I love. They're a little bitter, go well with acid and salt and are really easy to cook. Well, roast anyway. Roasting the best way to cook all vegetables, in my opinion.

Anyway, let's get started:

You need a package of sprouts, olive oil, salt, pepper, and any other herbs you want. Thyme is good, plus I love thyme.

Sprouts are so cute, look at them up close:
they're like tiny cabbages.

Before you roast them, you can cut off the little nub at the end (where it was attached to the vine), but it's not strictly necessary. You should cut them in halves or quarters though.

Oh yeah, speaking of on the vine, this is what they look like if you get them really fresh. You can find great shots of other fresh veggies here: GardenSeed

See, tiny cabbages.


Anyway, put the brussels in a pyrex pan and put on a healthy dose of olive oil (probably around 1 to 1 1/2 tbsp), salt and pepper (also a healthy dose) and the fresh herbs.


A squeeze of lemon is also good here, since it cuts the bitterness of the veggies.

Now, put these in a 400 degree oven for about 30 minutes until they are tender and have some brown on them. You may want to toss them around with a spatula after about 20 minutes to stop sticking.

Just a little bit of burnt adds some sweetness, which compliments the bitterness inherent to brussels perfectly.

They really are a great side dish, or even a snack, if you want to just pop a few of these in your mouth from time to time.

Enjoy!

Saturday, November 27, 2010

Happy Thanksgiving!

Sorry I didn't update on Thursday, but I was at my sister's and couldn't move my pictures from my phone. I wanted to share with everyone my first attempt at doing an entire Thanksgiving, so I took a bunch of pictures.

The day started with prepping the turkey. A little bath in the sink, some salt and pepper, and then the poor guy got stuffed with The Pioneer Woman's Cornbread Stuffing/Dressing, only without the mushrooms. Let me tell you, it came out wonderfully.

While I was preheating the oven (and baking the bread I had started the night before: shallot and sage bread) I made some kale chips for me to snack on all day.

Then Mr. Gobble Gobble went in the oven and I went to work making the compound butter to put on the outside. A stick and a half of butter in a sauce pan, add plenty of thyme and sage, let it go for a minute or two, then turn off the heat. After an hour in the oven, I slathered that all over the warm turkey.

Cover, baste every 45 minutes, and then take the top off and up the temp to 400 for the last 45 minutes. This was the result.

Crispy, flavorful skin and moist, fully cooked, and flavorful stuffing.

Then I made some other stuff and it all looked delicious
We had turkey, stuffing (from the bird, and vegetarian), maple glazed carrots, roasted (burned) and glazed butternut squash and parsnips, green bean casserole, mashed potatoes, shallot and sage bread, and gravy. Oh yeah, and canned cranberry. Apparently, it was all a big hit.

In other news, look at this turkey:
He and I both passed out right after dinner.

Thursday, November 18, 2010

Tim's "Hungarian" Goulash

I learned how to make goulash from a cookbook that purported to give recipes of 1950's favorites. The only thing Hungarian about the goulash I made from it was the paprika, which I couldn't find. So, in the end, nothing Hungarian about it, but I still like calling my recipe (which is a jazzed up version of that one) by the same name.

Any way, goulash is one of those things from childhood that we all have semi-fond memories of, but have no recollection what it was like. I'm pretty sure I ate this as a child, but I have no proof. All I know is that I made this for my dad once, and he really liked it.

Anyway, let's get started. We're going to need a whole bunch of ingredients.


The only ingredient that is slightly unfamiliar in this ensemble is the stew meat. You can pick it up in your grocery store as just stew meat, but you can also just cube a top round, or a chuck steak or something. It's basically the same thing, but the store did this for me. Things like this make me miss my butchers :(.

Anyway, down to business, we also need some flour, so grab flour and the various spices you see about (paprika, allspice, and cinnamon... the secret ingredient) and combine with the flour. Don't forget the salt and pepper too!
 Now, open up the meat, and gingerly take each piece of meat and pat it dry with a paper towel.


This is really important, just ask Julia Child. It will allow the flour to stick and flavor the meat, even during frying. It will also stop some of the sizzling that happens whens water meets hot oil.

Anyway, coat each piece of meat in flour, and place aside.
Now it's time to prep the veggies. I had a GIANT green bell pepper, so I only needed half of it, but you will need a full pepper, most likely. So, slice it in half and, using your finger, scoop out the seeds and stem.
I should make an animated gif out of that or something. It might be awesome. Anyway, slice each half into fairly wide strips, and then fit your strips in to each other and cut in the other direction to get little pepper squares.
Oh yeah, and I've already slice up some onions for us. When you're done it should all look like this:
At this point, you should also mince your garlic, but more importantly, it's time to cook the meat.
Grab your dutch oven, or another large heavy bottom pot, and heat up some olive oil, enough to cover the bottom. Then, sear your meat on all sides. You'll probably need to do it in two batches, so be sure to add some more olive oil in between.

When the meat is done, take it out and drain it in a paper towel lines bowl. We're using a lot of paper towels in this recipe. Sorry environmentalists.


Don't be surprised if your meat sticks to the pan. This is a good thing. The flour is what's being left behind, with all of its seasoning. We're going to use all of that to flavor our sauce now.

Add in your sliced onion (look at all of that brown stuff on the bottom), and start them sauteing. Add some salt to help them along. Then, add in your pepper (after only two or so minutes) and let those go over medium heat for a little while, at least 8 minutes.

You really want the onions to start to carmelize, then add in your garlic. After just two minutes of letting the garlic cook, deglaze the pan with your red wine. I used Merlot here, but any wine would work. I think more tannins are better.
I love deglazing pans. Use a wooden spoon to scrape up all of those flavored bits on the bottom. I probably could have let my onions caramelize more. Do as I say, not as I do.

This is looking really good. After you let the wine reduce by about half, add in all of the beef stock. Raise the heat to let this come to a boil. You should also flavor with a lot of black pepper at this point.

After this comes to a boil, add the beef back in and let simmer over low heat for at least and hour and a half. The house is going to smell so good! The cinnamon scent is really strong here, but the flavor comes out as just a bit of interest.
About a half hour before you serve, add in 1/3 cup of grape tomatoes. They'll burst in the sauce and add some tomato flavor, which every goulash should have.


Before you serve (over egg noodles, with sour cream) make sure you taste the sauce. If it's a little flat, add some salt, and if it's bland, add a little more paprika and cinnamon. You won't regret it.

Yum! And really nice looking too! I hope you enjoy!


Tim’s “Hungarian” Goulash
Ingredients

1 1/2 lbs stew meat (or top round, cubed)
1/3 cup flour
1 tsp paprika
1 tsp ground cinnamon
1/2 tsp allspice
1/2 large onion, sliced
3 cloves garlic, minced
1 large pepper, diced
1/2 cup red wine
1 qt beef broth
2 tbsp olive oil
1/3 cup grape tomatoes
Salt & pepper
Sour cream

1. Combine flour and spices together in a bowl, then coat the meat in the flour mixture. Shaking in a plastic bag works well here.

2. In a dutch oven (or other larger heavy bottomed pot), sear the meat on all sides over medium high heat.. If the pot is not large enough, do the meat in two batches and add a little olive oil between.

3. Remove the meat to a paper towel-lined bowl to drain. Lower heat to medium or medium low. Add in onions and pepper, sauté for 8 minutes, until onions just start to carmelize.

4. Add in garlic at the last minute and let cook for about 2 more minutes. Then, deglaze the pan with the red wine.

5. All the red wine to reduce for about 5 minutes, then add in the beef broth, along with a healthy sprinkling of salt and pepper. Allow to come to a boil over medium heat.

6. Return meat to broth mixture and let simmer for 1½ hours.

7. After an hour, add in the tomatoes, stir them in and let it continue to simmer.

8. Serve over egg noodles with a dollop of sour cream.


    Thursday, November 4, 2010

    Crispy Shallots

    Hi all,

    I've been a terrible blogger again and I've managed to not update this blog for over a month! I've been really busy, or at least convincing myself of that, and haven't found time. Well, now I'm rectifying this situation! I'll be posting a bunch of recipes in relatively rapid succession (There's also some Soul Dog shots that will be mixed in for those of you who know and love their ridiculous hot dog toppings... I don't think I've ever had a dog there with less than 3).

    Also, I realized that I don't make many vegetarian things, I'll also try to change that. In fact, there's no meat in our recipe for today... but it goes really well with a steak.

    So, since they're called crispy shallots, you're going to need a shallow, sliced into nice, thin circles.
    Those are not so thin, but they'll work. Separate them out and then get your self a whole mess of butter. Paula Deen, eat your heart out.

    For one shallot you need between one and a half to two tablespoons of butter!
    So, get that going in a small saucepan over medium heat. Once it's all melted, add in your shallots and a pinch of salt. Maybe some pepper too.

    Then, just stir them around. They're basically getting deep fried in the butter.

    At this point, they've gotten soft and are starting to turn brown. I think this was around 7 or 8 minutes, but don't take my word for it.

    So, just let them go, stirring every so often until they are fully brown, then remove them to a paper towel.

    It's that easy!

     These may look like they're gone too far, but they're actually freaking delicious. Serve it on top of a steak and you won't regret it. They would probably also go really well with the Pork Chops... mmm... but what doesn't go well with those?